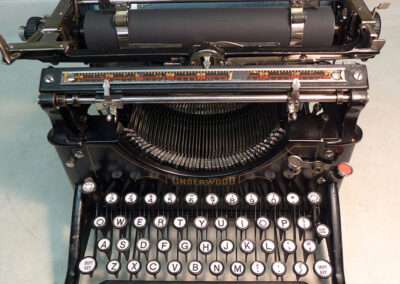
Typewriter Cleaning and Restoration
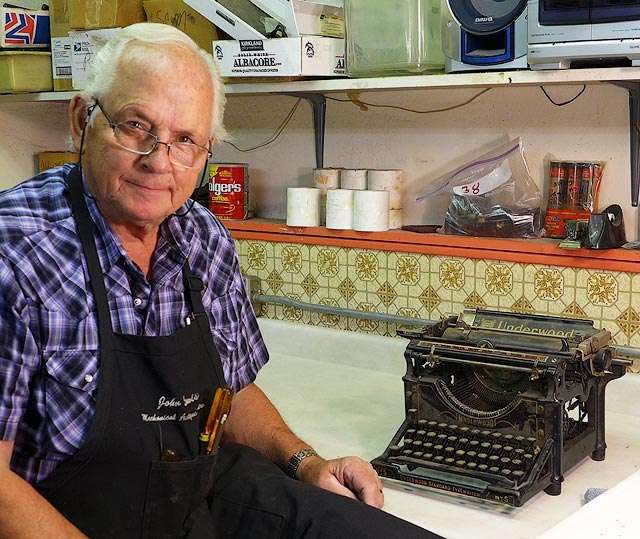
Typewriter and mechanical antique repair is one field where you are not put out to pasture when you reach a certain age. (The down fall, no watch.)
Do you have cherished memories of your antique typewriter and need an experienced typewriter repair shop to restore it to its former glory?
I have been repairing typewriters since 1966. Since there are few easy-to-follow typewriter service manuals for vintage typewriters, it takes hard-earned knowledge to be able to properly chemically clean, repair, and adjust them. In this time, I have also amassed a huge inventory of both manual and electric typewriters, both for extracting good parts for customer machines and also for resale in our store in Albuquerque, NM.
If you bring your typewriter to our shop, we will give you an exact cost estimate for its repair/restoration. If you contact us for an estimate, we will ask for pictures to document the needed work and then will provide an estimate. We look forward to hearing from you!
Typewriter Repair Services
Whether your typewriter needs a simple adjustment, complete cleaning, major repair, or even a complete restoration, I’ll give you my most honest opinion, and then we’ll discuss your machine together and arrive at a solution that will both please and meet your needs.
Some of the services I offer are:
- Minor repairs
- Major repair
- Complete restoration
- Welding broken parts
- Part replacement
- Platen replacement or recovering
- Rust removal
- Polishing
- Decal replacement
- just to mention a few
How to Clean a Vintage Typewriter
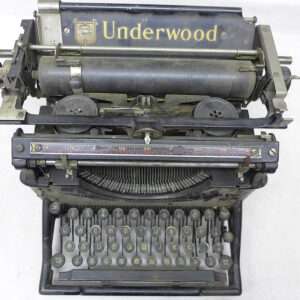
Below are the major steps for how I cleaned and restored this Underwood Model 5.
Enjoy the image galleries and compare the before and after image at the end!
Preparation & Disassembly
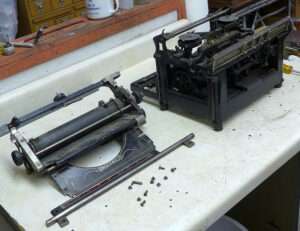
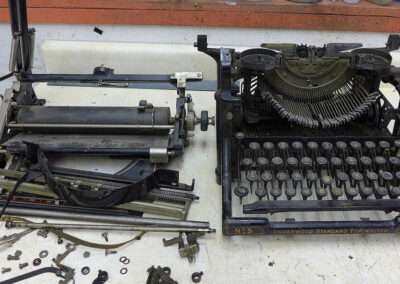
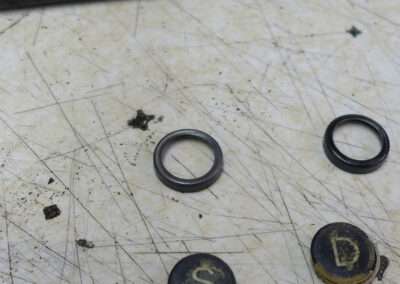
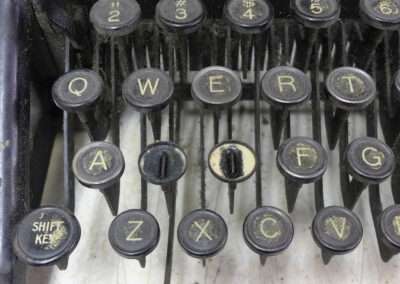
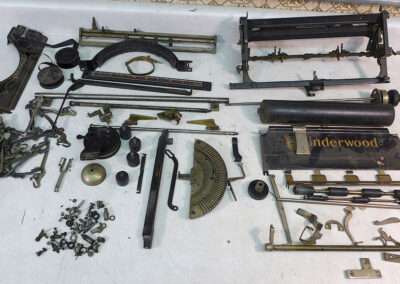
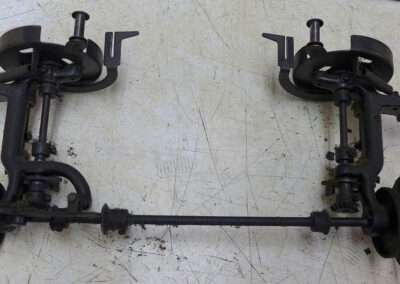
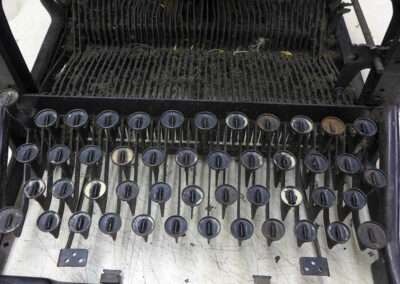
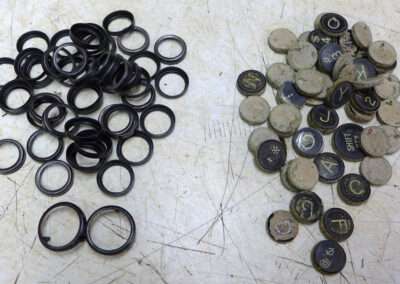
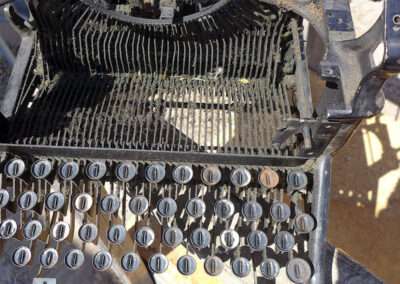
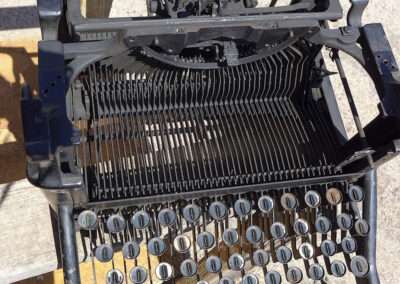
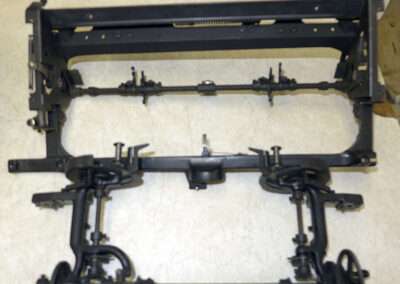
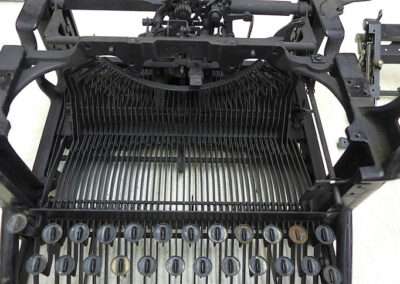
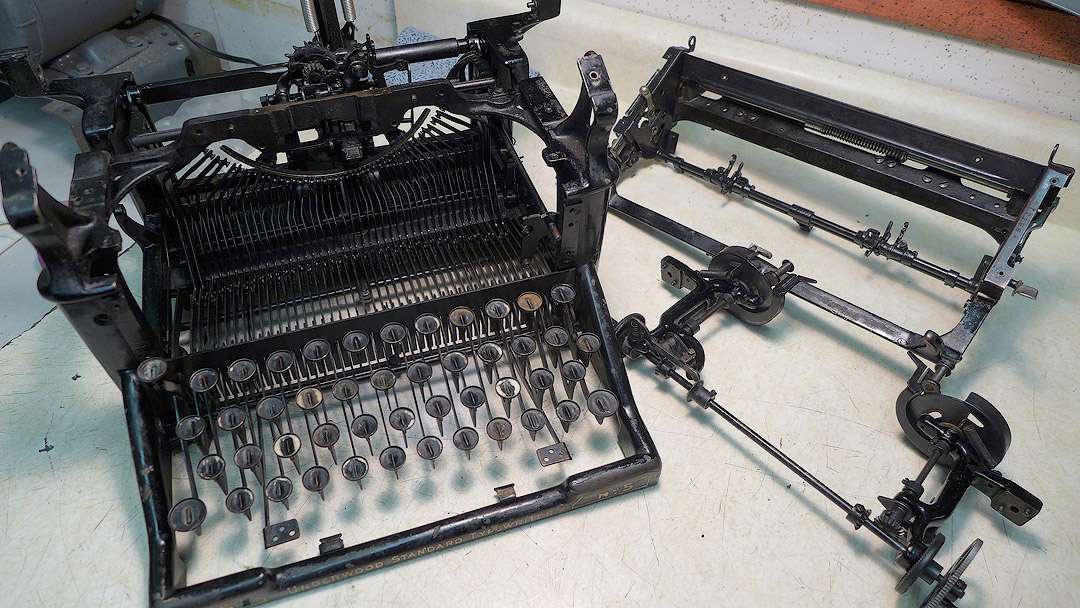
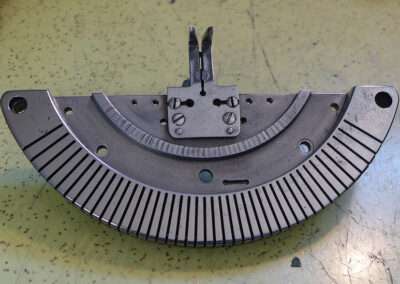
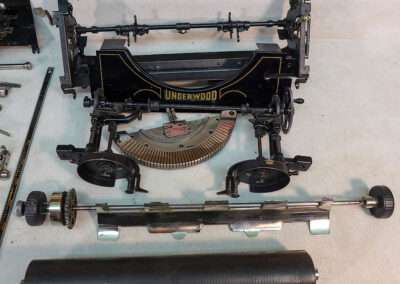
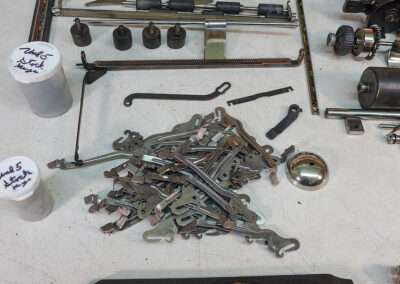
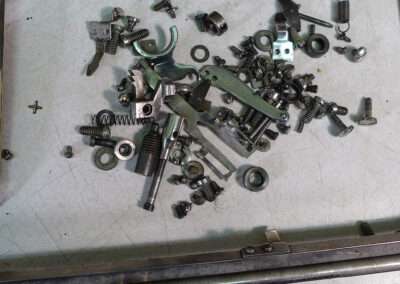
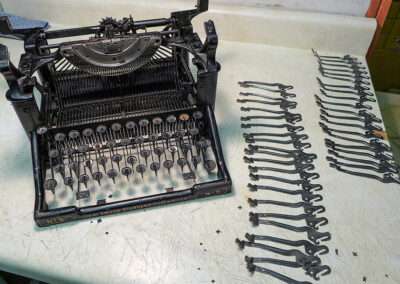
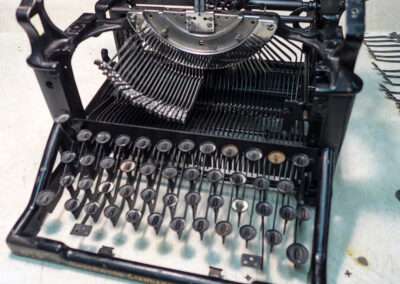
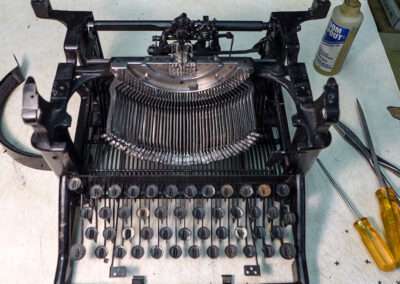
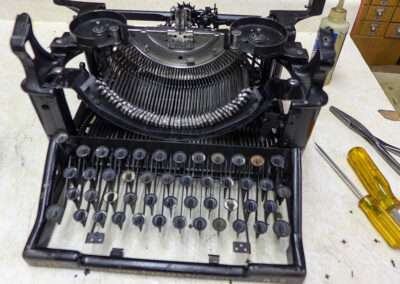
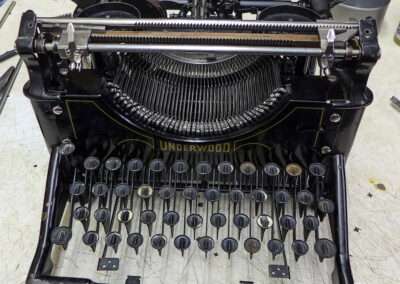
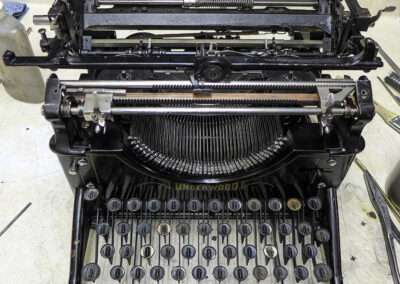
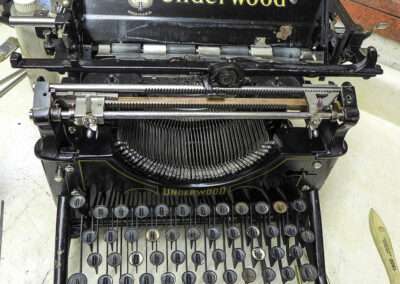
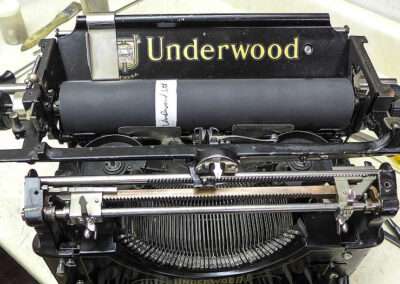
To properly chemically clean an Underwood 5 typewriter, all exterior panels must be removed along with all rubber, plastic, wood, keyrings and letters, and soundproofing material. You will notice, in my picture story, that I have removed the key rings, glass key tops, and paper letters.
Gallery: Click Next to view all 10 images.
Tip: If you do not have access to key ring removal pliers, do not pry them off. Take it from the voice of experience, you will damage or ruin the key letters, break more than your share of the glass covers, not to mention bending the key levers.
Air Cleaning
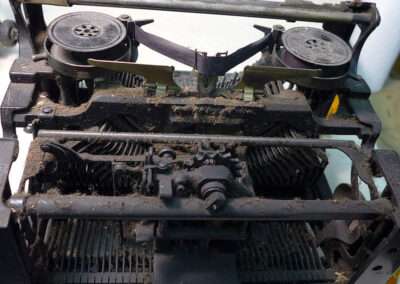
Once the parts have been removed, the machine needs to be properly air cleaned. This will minimize the excess dirt and foreign particles from contaminating the cleaning solutions so they can be reused multiple times before they need to be replaced/refreshed.
Solvent Cleaning
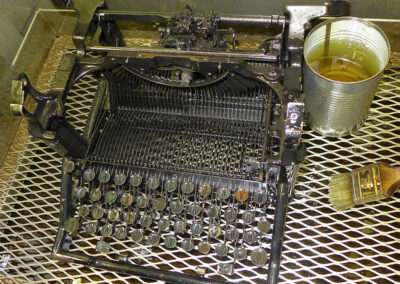
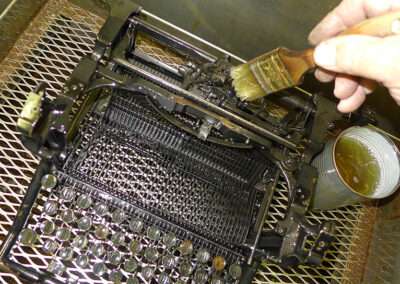
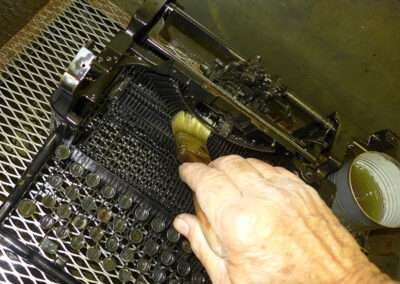
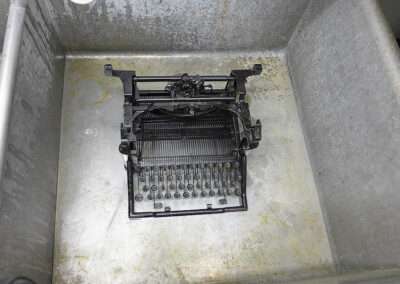
Once air cleaned, I place the machine inside of a high-sided cleaning tank where it can be sprayed with degreasing solution. At this time it is necessary to use a brush to aid in loosening and removing stubborn old hardened lubricants and sludge that has become one with dirt, paper fibre, ribbon lint, coffee, cookies, and eraser particles.
Rinse
Now that the machine is free of its collection of hard stuff, it is time to rinse off all of the cleaning solution. This is also done in the same high-sided sink that has a water spray nozzle.
I first use hot water as it helps soften any remaining sticky or gummy sludge that was missed by the degreasing solution, and to remove the degreasing solution itself.
The typewriter is now clean and hot, and the machine needs to be rinsed off with cold water to properly cool it off.
Dry
The typewriter is now dripping wet so it will need to drain for a few minutes – but only until the bulk of the water has run off. Rust can form if not dried quickly. The machine now needs to be power dried with compressed air, not just left out in the breeze all day. It is especially important to remove all of the moisture from the springs, being careful not to get the air nozzle very close to small springs. I also dry screw holes and the segment where the typebars pivot.
You will never get all of the moisture off, so I found it best to place the machine in front of a variable speed fan to force drying air into hard to reach and tight areas. I usually leave the fan on for a half hour while I clean earlier removed parts. The machine should be 99% dry now.
After the machine has been dried properly, it needs to be submerged/sprayed with a solution of solvent and light oil. The mixture should be 1 part light oil and 9 parts of solvent. The solvent will work as an agent to spread a light film of oil over the whole surface of the machine, helping to retard future rust.
Polish and Buff
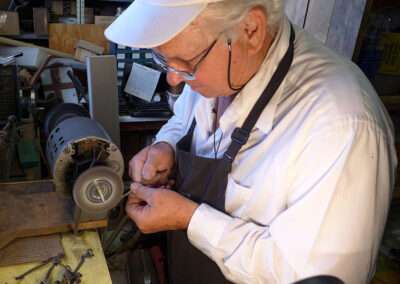
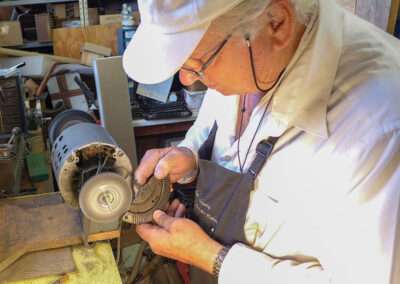
For all of the plated parts that might have rust/corrosion on them, it will be necessary to use a wire wheel (fine wire) to properly remove it. Once the plating has been cleaned, a fabric buffing wheel, with polishing rouge on it, can be used to return the plating to a nice bright shine or luster. The key rings are polished by threading them through with a wooden dowel rod to hold them against the wire wheel and then the fabric wheel.
Reassembly
For new key letters, should your old ones be damaged, you can purchase nice clean sets on the net. Just make sure that the ones you purchase match the keys of your typewriter. It will save a lot of time if you do. When you get the sheet, copy it so you have a spare should you damage any during installation. The letters will need to be cut, or punched out of the key letter sheet. You can purchase a half-inch leather punch from a leather supply store and can cut out the letters yourself with a little practice.
Gallery: Click Next to view all 12 images.
Replacing Parts
It does not always happen, but it happens often enough: I will quote a price for a repair/restoration and after I have the machine mechanically cleaned, I find that I have to replace a part, or use another exact make of machine, so I can compare it to my customer’s machine, making sure that I am reassembling/adjusting a particular part correctly. With my vast inventory of parts machines, finding a comparison machine should be easy, right?!
Unfortunately, whenever typewriter companies got the chance, they changed something in their machines. It was usually for two reasons – either they wanted to cut cost, or they wanted to improve the function of certain parts or mechanisms.
And, true to form, my comparison machine is often one that the manufacturer chose to save money on and changed a part assembly. The machines that I find a great inconsistency on exact parts are: Underwood, Royal, L.C. Smith, Corona, Densmore, Smith Premier, and Hammond.
Case in point: I once restored a Smith Premier #4 (understrike model) and it took three different like model 4’s to find all of the correct parts to complete the repair! Now you now why it’s important to have a vast inventory of parts machines!
BEFORE & AFTER
As you can see, restoring a vintage typewriter involves a lot of preparation and careful execution.
When I evaluate the typewriter service offered by many typewriter service shops on the internet, I can easily gauge their knowledge of typewriter repair by how they discuss the process of how they clean and go about repairing them, and the lack of proper knowledge of parts they discuss. When they clean machines with the exterior covers still on, the paper lettering still under the glass keys and attached to the key lever, I know that they are not trained to properly care for a vintage machine that more than likely holds cherished memories for its owner – especially if they mostly use brushes, compressed air, and Q-tips to do the work.
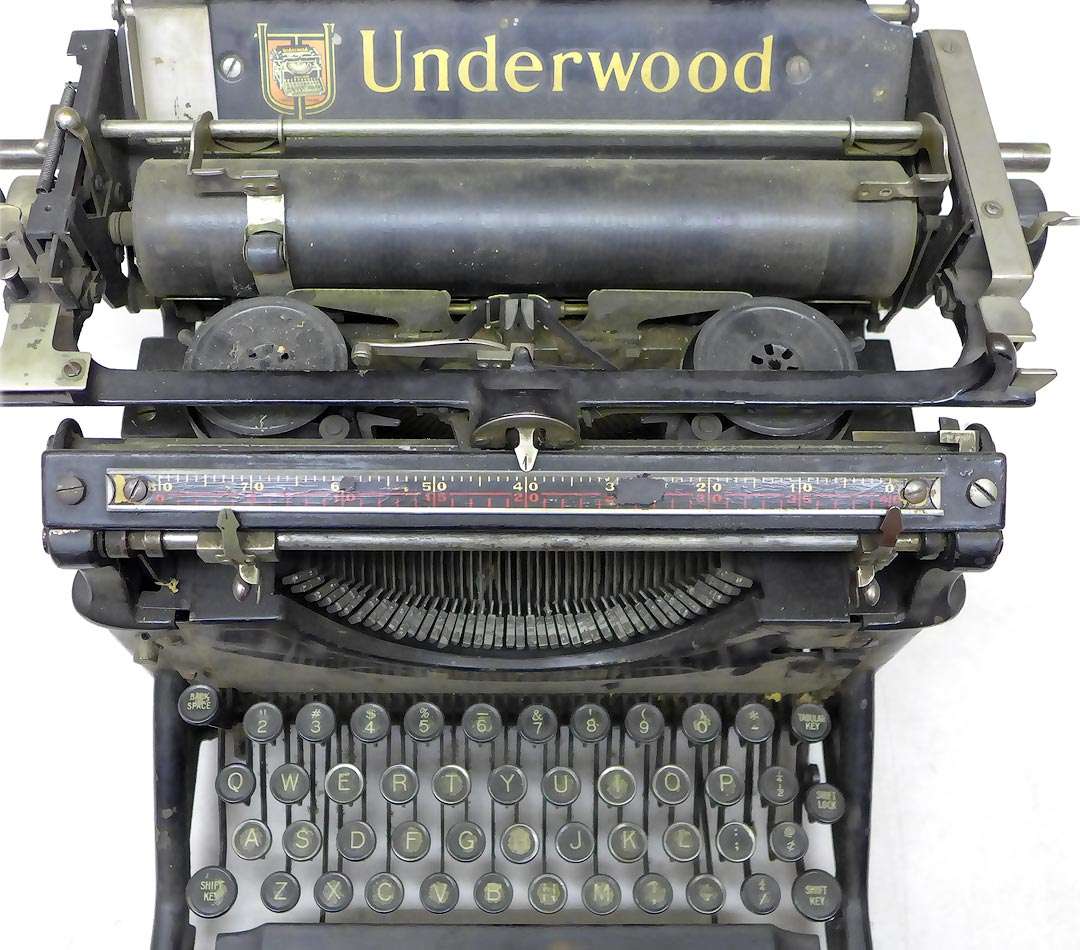
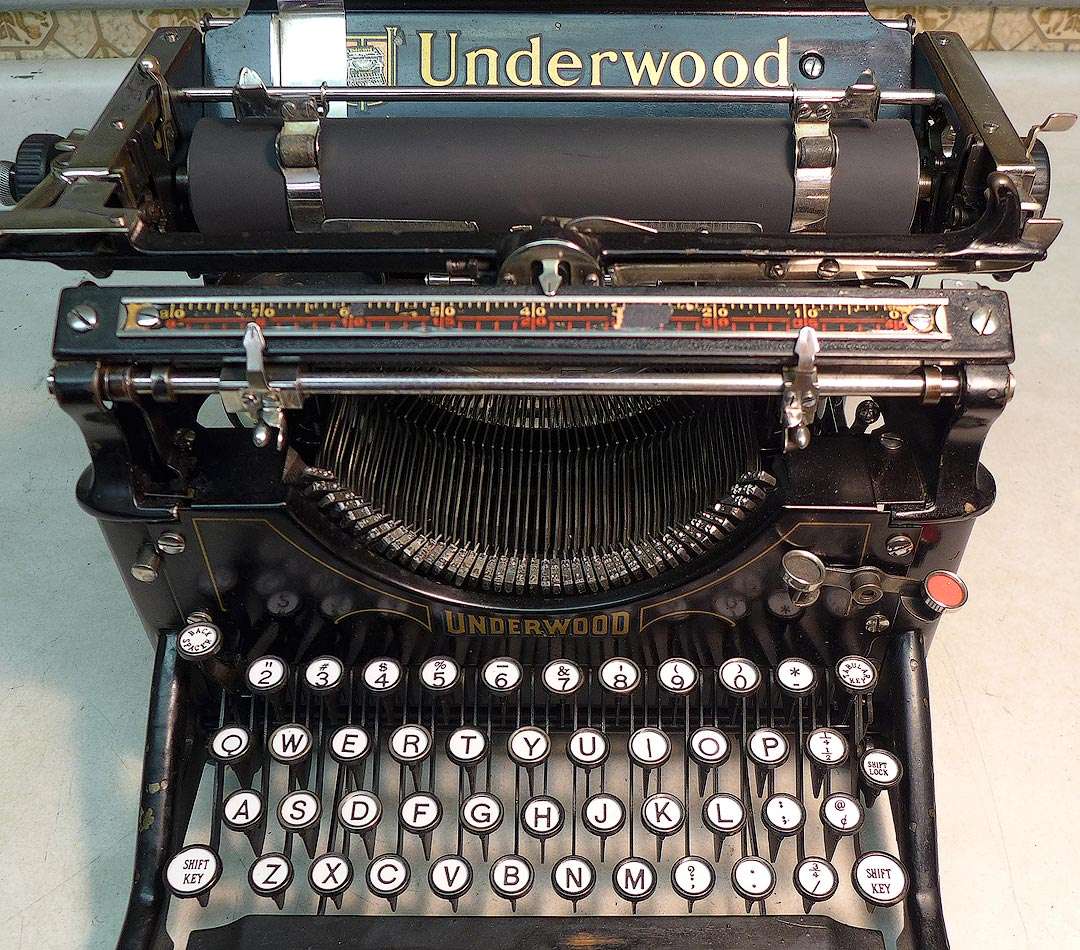
Drag the center line to see a BEFORE and AFTER image!
Call
(505) 884-0600
Visit Us
4805 Menaul Blvd NE, Albuquerque, NM 87110
Hours
Monday–Wednesday
9 am – 4 pm MT
Send a Message


